Connecting Network Cameras to Windows 10 Devices
Network cameras, which are Internet Protocol-based cameras that transmit video data over a local area network (LAN), are becoming increasingly prevalent – especially in surveillance and security scenarios. Windows now allows users to associate network cameras to their PC, enabling photo capture and streaming of video in camera applications. Currently Windows only supports ONVIF Profile S compliant cameras*, which are standards-compliant network cameras optimized for real-time streaming video capture.
Note: The features discussed in this article are available with Windows 10, Insider Build 18995.
Windows provides support for discovery, pairing, configuration and streaming via WinRT APIs.
To discover network cameras connected to the local subnet, create a DeviceWatcher class and follow the instructions specified in this document, connect to remote cameras.
To pair the discovered network camera, use the DeviceInformation instance returned by the DeviceWatcher. Windows supports the following pairing ceremonies: Basic and Custom, as documented in the pair-devices documentation. To briefly summarize, Basic Pairing provides a simple method for pairing to cameras that do not require authentication to access the stream. The Custom Pairing mode should be used when more advanced control over the pairing is needed or if a camera will require authentication.
Alternatively, for network cameras that can be accessed without authentication, users can pair using the Add a device wizard via the Windows 10 Settings page.
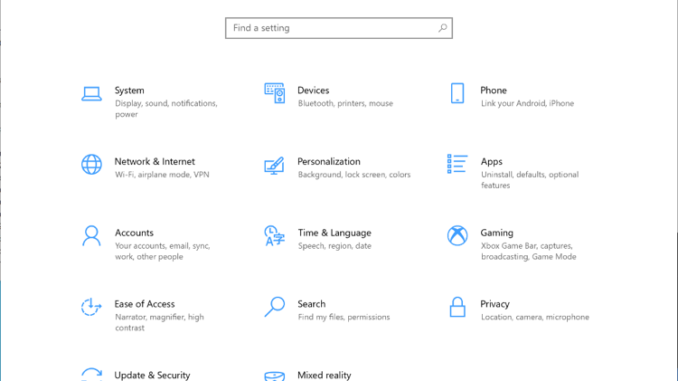
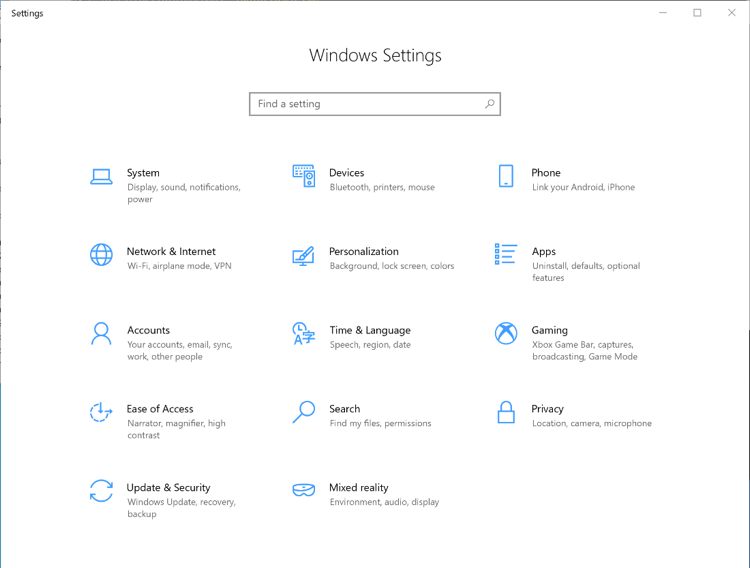
Step One: Open Windows Settings and choose Devices

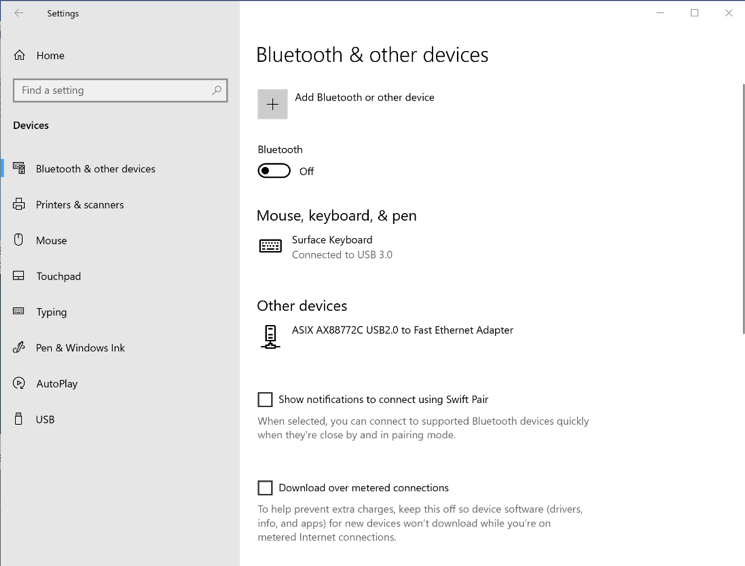
Step Two: Inside Bluetooth & other devices → Everything else, click on Add device to discover network cameras connected to your LAN.
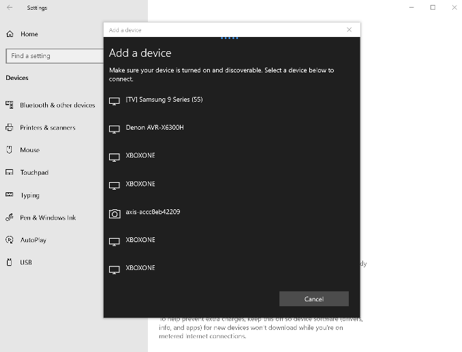
Step Three: Click on the network camera you want to pair, and your device should now be connected.
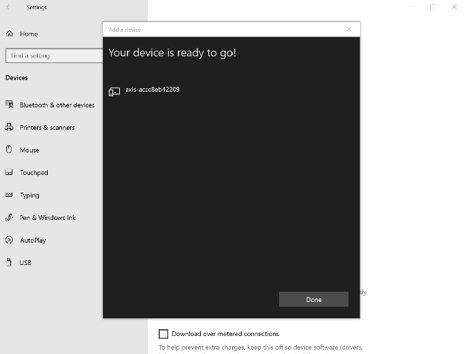
After pairing the network camera, you can capture photos, stream and record videos using your preferred camera app or the built-in Windows Camera App.
If the ability to pair to authenticated cameras with the Settings page is important for your use case, please let us know via the Windows Developer Feedback.
Additional Features
Network camera support in Windows is continuing to improve, with additional functionality currently available for developers enrolled in the Windows Insider Program. In the latest insider builds, developers will find improved support for more ONVIF cameras, as Windows is now fully certified by ONVIF. Additionally, there are some new APIs available in the insider builds that enable streams from a specified RTSP Uniform Resource Identifier (URI), and to perform time synchronization with cameras. The two APIs are described below.
For streaming from a URI through the MediaCapture class, assign the desired URI to MediaCaptureInitializationSettings::DeviceUri. If credentials are required, they can be set through MediaCaptureInitializationSettings::DeviceUriPasswordCredential. The API supports ONVIF and generic RTSP server URIs. This allows applications to use the standard Windows Media APIs to capture video from generic cameras that do not conform to the ONVIF standards, or from an arbitrary URI without pairing.
New APIs also exist to support time synchronization of cameras using the Network Time Protocol (NTP) as specified by the Onvif specification. Use KSPROPERTY_NETWORKCAMERACONTROL_NTP to configure the NTP server for the ONVIF camera to use. Once configured through this mechanism, the camera starts streaming, and sends NTP time through the Sender’s report ( as described in the RTP/RTCP spec) in a separate channel helping Windows adjust RTP payload timestamps it receives from the camera. This can be used to ensure synchronization of the captured video clips across multiple cameras.
*ONVIF Profile S conformant cameras that don’t adhere strictly to the WS-Discovery protocol might have issues during discovery and enumeration.
The post Connecting Network Cameras to Windows 10 Devices appeared first on Windows Blog.


Leave a Reply