Windows 10 Tip: Export your Minecraft creations to Remix3D.com

The Minecraft Team recently released the Better Together Update, designed to unify the console, mobile and Windows 10 PC versions of the game under one single Minecraft, which includes cross-platform play, infinite worlds, the community Marketplace and servers. And for Windows 10 PC players, integration with Paint 3D and Remix3D.com makes it easy to export and share 3D creations and inspire others.
Today, we’re going to show you how to get started creating your very own 3D content in Windows!
Start by opening a new creative world, or an existing creative world.
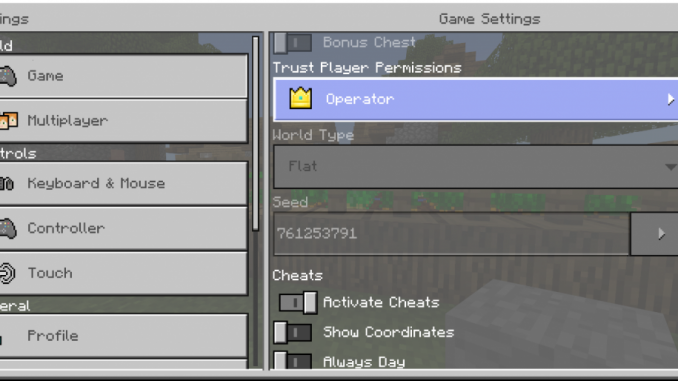
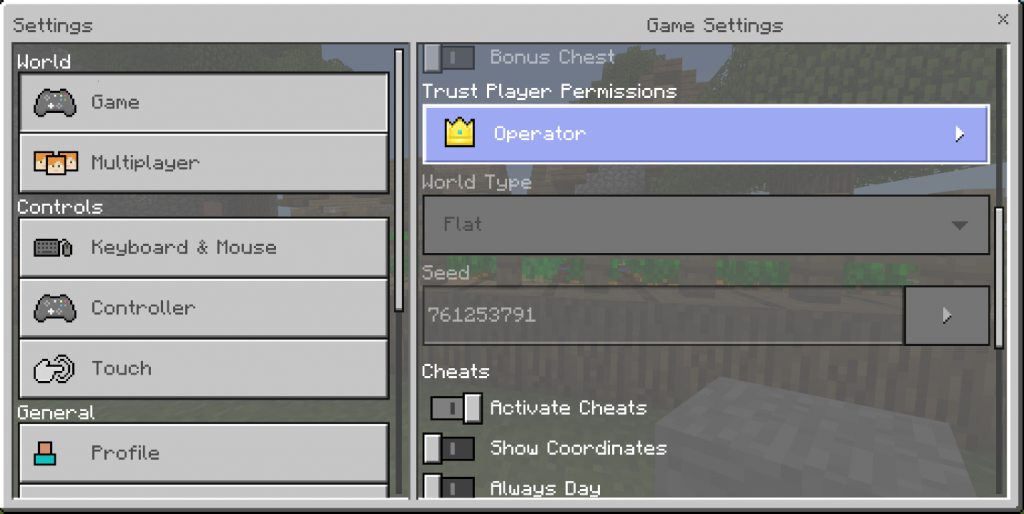
If you are not using a creative world, you will need to enter creative mode by opening the in-game menu, enabling cheats, and changing your Personal game mode to “Creative”. This will allow you to use cheats, which are needed to enable the new Structure Block in-game. You will also need to change the Trust Player Permissions dropdown to “Operator”. This will allow you to use cheats, which are needed to enable the new Structure Block in-game.

Build the object you’d like to export from Minecraft

Give your in-game player a Structure Block
Now you will need to give your in-game player a Structure Block by pressing “/” and typing the following command: “/give @p structure_block” without the quotation marks.

Now place the Structure Block on the ground near the creation you would like to export by holding the Structure Block in your characters hand, and right-clicking on the ground near your creation.

Right-click on the Structure Block, and fill in the bounding coordinates for your creation.
You will need to fill in the X, Y, and Z coordinates for both the “Size” and “Offset”. Then enter a name for your creation, and select “3D Export”.

Now select “Export,” and to export your structure to Remix3D!
This will also prompt you to save the model locally in File Explorer.

Add a description and tags to your 3D model to classify your content on Remix3D.
Once finished, select “Upload” and then “Visit Model” to go directly to our community and see our village created in Minecraft, after it has been uploaded to Remix3D.com!

Share your creations to social media directly from Remix3D and inspire your friends!
Check out your creation on Remix3D.com and select your social media of choice to share your creation with friends.

In case you missed it, here’s last week’s Windows 10 Tip:
We hope this has inspired you to start creating in 3D!
Source: Windows 10 Tip: Export your Minecraft creations to Remix3D.com


Leave a Reply