Windows 10 Tip: How to get started viewing and streaming with Mixer

Mixer is the only next-gen live game streaming service that offers viewers real-time influence and participation in game streams. Mixer’s streaming protocol delivers content with less than one second of latency. It makes game streams so fast and clear, that it’s a refreshing surprise to both streamers and viewers—almost like they’re in the same room! Here’s how to get started with Mixer:
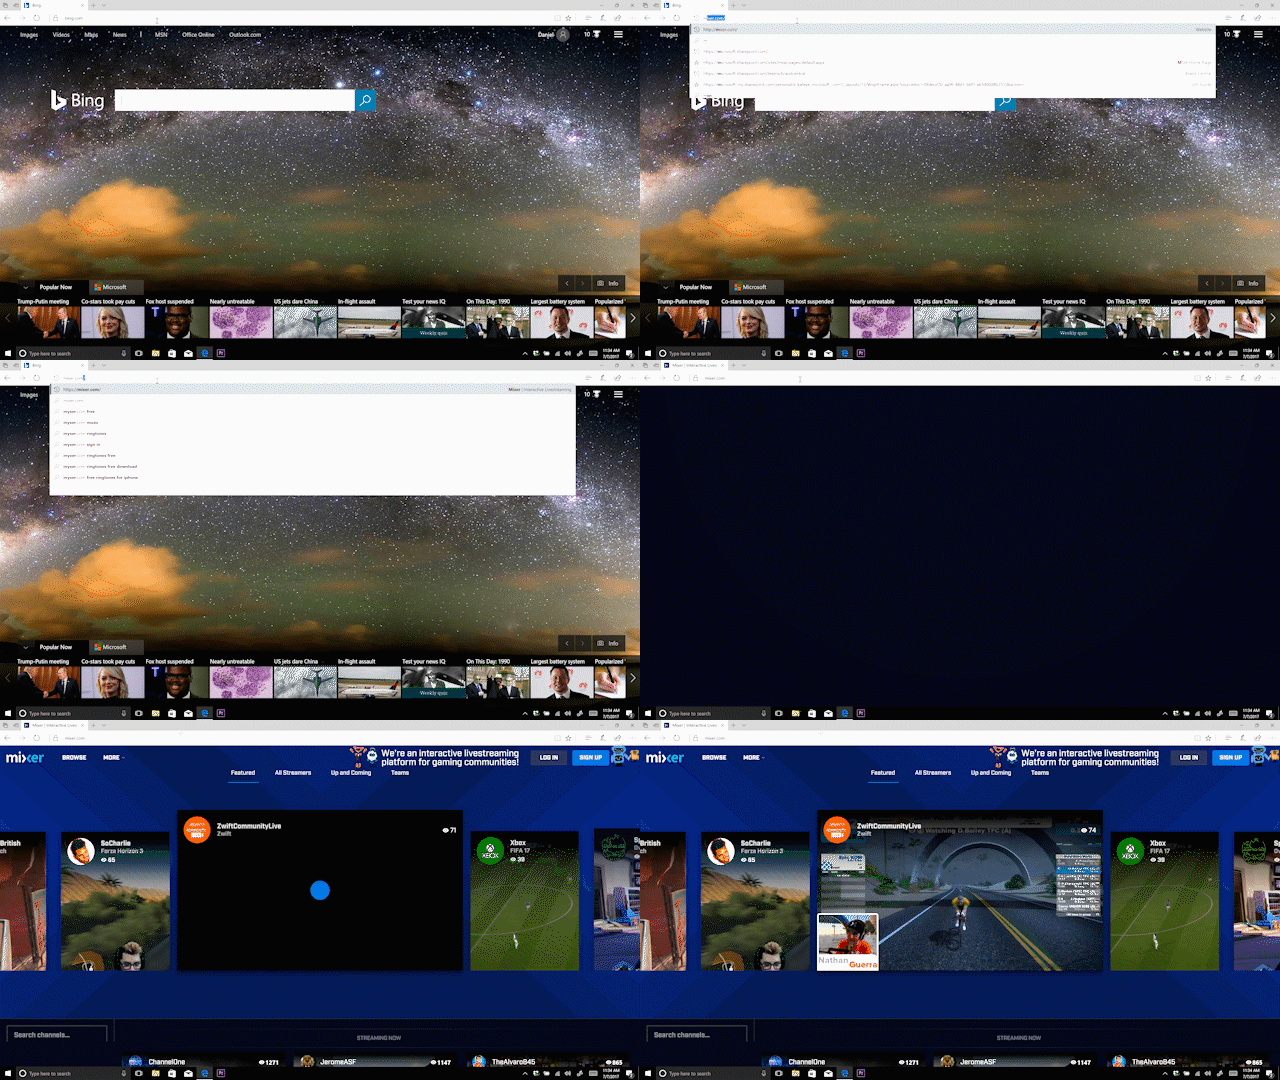
To view Mixer content from your PC, simply navigate to Mixer.com.

Featured streams are available right from the homepage, or you can sort streams by game using the “Games” menu on the left-hand side of the homepage.
While you’re there, consider logging in with your Microsoft account so that you can start earning sparks when you view Mixer streams across both Windows and Xbox One devices. Sparks are in-app currency you use to interact with streamers in ways they’ve setup (like soundboards!).
To log in to Mixer with your Microsoft Account:

- Click “Log In” in the top right corner of the window.
- In the Log In menu, select “Log in with Your Microsoft Account”
- In the popup, complete the log in steps using your Microsoft account and password.
You should now see your Microsoft account profile photo in the top right corner of the Window.
To start broadcasting a Mixer stream of your own:

- Launch a game.
- Press Windows logo key + G on your Windows 10 PC to open the Game bar.
- Press the Broadcast button to choose how you want your broadcast to look.
- Press Start broadcasting to broadcast your game.
To set more detailed settings for your future broadcasts, select the Start button, then Settings > Gaming > Broadcasting. Additional settings can be accessed by visiting your channel on Mixer.com.
Enable Video on Demand (VoD) for your streaming sessions:
A Video on Demand (VoD) is a recording of a previous stream that is automatically saved on Mixer. VoD recording must be enabled with the “Keep recordings [VoDs] of my streams” option on your “Manage Channel” page of Mixer.com before your stream starts for the VoD to be saved (VoD recording is disabled by default).
- In a web browser, navigate to Mixer.com and log in.
- Click your profile photo in the top right, then click on “Manage Channel” in the menu.
- Select the button for “Keep recordings (VoDs) of my streams” in the preferences menu.
- Once enabled, any broadcast longer than 5 minutes will be automatically saved as a VoD.
You can watch, download, and delete saved VoDs from your “Manage Channel” page on Mixer.com. Don’t forget you can read all of our Windows 10 Tips right over here.
Have a great week!
Source: Windows 10 Tip: How to get started viewing and streaming with Mixer


Leave a Reply