Monitoring Microservices in Docker Containers with NGINX Amplify

Most microservices deployments use container technologies in one way or another. When deploying NGINX in containers, thousands of users choose Docker for its ease of use and rapidly growing community. The NGINX image is one the most frequently downloaded in the Docker Registry.
Recently we announced the beta version of NGINX Amplify, a new monitoring and configuration recommendation service, and we have received a lot of questions regarding the use of NGINX Amplify and Docker in the same deployment. In this post we discuss how these new free technologies can work together to improve the performance and manageability of your microservices deployment.
NGINX Amplify Components and Workflow
NGINX Amplify consists of multiple components. The ones that are visible to the user are:
- The NGINX Amplify Agent, which runs on the same system as NGINX
- The NGINX Amplify cloud receiver and backend
- The NGINX Amplify web interface with dashboard
The NGINX Amplify agent performs the following operations:
- Checks system processes to find all running NGINX instances
- Monitors NGINX configuration files
- Monitors NGINX logs
- Collects metrics for NGINX from the stub_status module, and for NGINX Plus from the Status (live activity monitoring) module
- Aggregates data
- Sends data to the cloud backend
NGINX Amplify for a Traditional Deployment
First let’s take a quick look at the use of NGINX Amplify in a traditional, non-containerized environment.
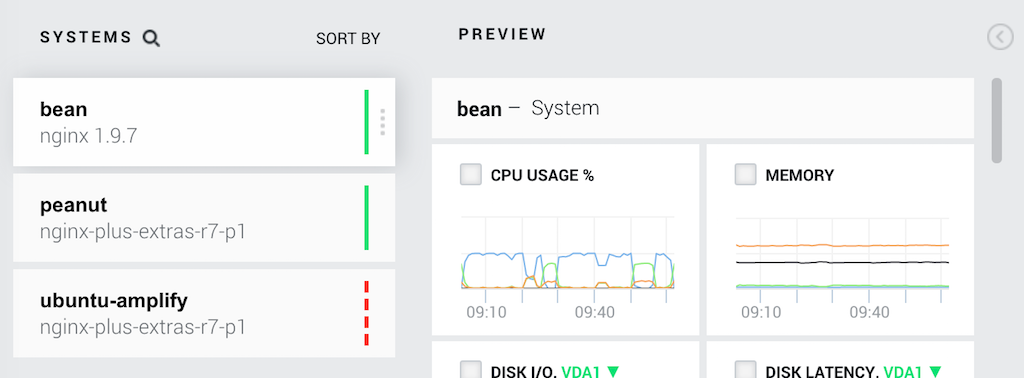
There are two methods for using multiple instances of NGINX. One method is to run a single NGINX server per machine. In this case the NGINX Amplify dashboard lists every machine as a separate host:
The other method involves running multiple NGINX instances on the same machine. In this case, you can have multiple NGINX configuration files and indicate which file to use for each instance with the -c option on the nginx command line:
# nginx -c /path/to/nginx.confHere is an example of multiple instances on the same host:
20385 ? S 591:44 amplify-agent
11921 ? Ss 0:00 /lib/systemd/systemd --user
11922 ? S 0:00 _ (sd-pam)
12204 ? Ss 0:00 nginx: master process /usr/sbin/nginx -c /etc/nginx/nginx.conf
12211 ? R 0:11 _ nginx: worker process
12344 ? Ss 0:00 nginx: master process nginx -c /opt/conf/nginx2.conf
12345 ? S 0:00 _ nginx: worker process
12366 ? Ss 0:00 nginx: master process nginx -c /opt/conf/nginx3.conf
12367 ? S 0:00 _ nginx: worker process
12374 ? Ss 0:00 nginx: master process nginx -c /opt/conf/nginx4.conf
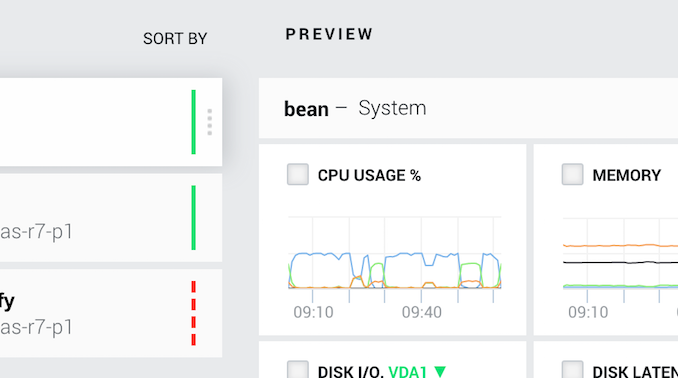
12375 ? S 0:00 _ nginx: worker processThe NGINX Amplify Agent automatically detects the multiple NGINX instances and provides detailed statistics for each of them. To see per-instance statistics on the dashboard, click the Show/Hide button on the line for NGINX in the host’s listing.

NGINX Amplify for a Docker Deployment
Now let’s take a look at the use of NGINX Amplify in a Docker deployment.
Configuring the NGINX Amplify Agent
The NGINX Amplify Agent includes configuration for Docker deployments.
To try the NGINX Amplify agent in your Docker environment, follow this procedure:
-
Get the latest source for the NGINX Amplify Agent for Docker:
# git clone https://github.com/nginxinc/docker-nginx-amplifyThe repository includes samples you can adapt for your deployment, including a sample Dockerfile, a launch script, and a configuration file for the stub_status module.
# cd docker-nginx-amplify -
Define your NGINX Amplify API key for Docker. To obtain the key, click the New System button on the NGINX Amplify dashboard.
You define the API key for your Docker environment by setting the
API_KEYvariable in your choice of three places:- In the launch.sh script
- With
ENVAPI_KEYin the Dockerfile - As an environment variable set during container startup
The environment variable takes precedence over the other methods.
- Edit the Dockerfile to fit your needs, for example adding your NGINX configuration files, mounting data volumes, and so on.
For more information on how to run NGINX in Docker, refer to the following guides:
- Tips for Deploying NGINX (Official Image) with Docker on the Docker blog
- Deploying NGINX and NGINX Plus with Docker on the NGINX blog
Each time we run a new container in a Docker environment, it is assigned a hostname based on its MAC address. A unique name makes it possible to track metrics on a per-container basis, which is useful, but it’s hard to recognize the service name or its purpose from this kind of name, as shown in this screenshot:
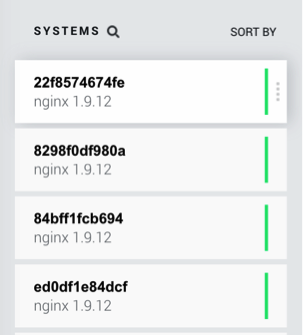
Also, if you often scale up or down this style of naming can quickly overflow your NGINX Amplify dashboard.
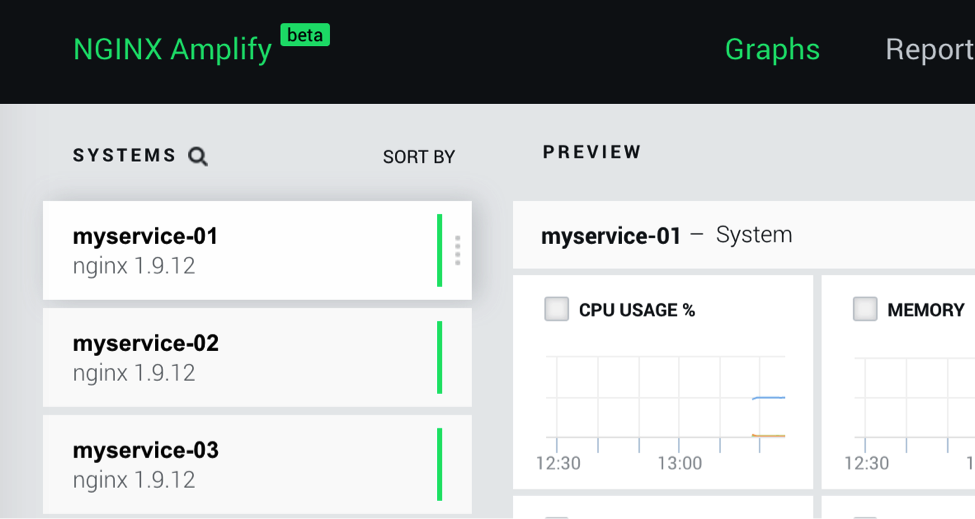
To achieve more visibility in your deployment you have a couple options. You can set a more readable hostname for your Docker container using the -h option on the docker command line. In the following example we start three containers using the same image (we have defined the API_KEY variable in the Dockerfile and so don’t include it on the command line):
# docker run -h myservice-01 -d -p 8097:80 nginx-with-amplify

# docker run -h myservice-02 -d -p 8098:80 nginx-with-amplify

# docker run -h myservice-03 -d -p 8099:80 nginx-with-amplify
You now see each container as a separate item in the NGINX Amplify dashboard:
As an alternative to defining the hostname as a container setting, you can set a special variable that only the NGINX Amplify Agent uses, AMPLIFY_HOSTNAME. Like API_KEY, you can set AMPLIFY_HOSTNAME in your choice of three places:
- In the launch.sh script
- With
ENVAMPLIFY_HOSTNAMEin the Dockerfile - As an environment variable set during container startup
The environment variable takes precedence over the other methods.
Here’s an example of a full command line that uses the environment variables:
# docker run --name myservice-01 -e API_KEY=ecfdee2e...effc7 AMPLIFY_HOSTNAME=myservice-01 -d nginx-with-amplifyNow this brings us to the question “What happens if I set the same hostname for multiple containers?”
Aggregate Mode for NGINX Amplify Agent in a Docker Container
In order to fully answer this question, let’s have a quick look at the internals of the NGINX Amplify Agent.
The Agent’s configuration file is located in /etc/amplify-agent/agent.conf and it has an interesting variable that helps to uniquely identify the NGINX instance in NGINX Amplify: UUID. The Agent generates the UUID variable as it first starts up, which is usually the last step of its installation. If you start multiple containers from the same Docker image with the same agent.conf file, the same hostname, and the same API key, the Agent generates the same UUID for all of them. As a result, for each metric the Agent aggregates the values from the containers and reports them as a single number.
Aggregate mode is useful for monitoring microservices as it shows the total value of each metric for the multiple instances of NGINX related to the same microservice. For gauge metric types, the reported value is the average across multiple instances. Gauge metrics include CPU, memory, disk usage, etc. For counters, the reported value is the total sum of the counters across all instances of a microservice. Counters include requests per second, HTTP version (HTTP/1.1 and HTTP/2), error code counters, etc.
Summary
Please bear in mind that Amplify support for Docker is still experimental, and quite a few things will be fixed and amended in the future. Please let us know of your experiences with monitoring NGINX inside Docker containers—we would really appreciate your feedback.
Try monitoring with NGINX Amplify in your own traditional or microservices environment:
- Sign up for beta access
- Read the NGINX Amplify announcement and status update blog posts
- Read the full reference documentation
- Contribute to development of the NGINX Amplify Agent
- Deploy NGINX Amplify for Docker
The post Monitoring Microservices in Docker Containers with NGINX Amplify appeared first on NGINX.
Source: Monitoring Microservices in Docker Containers with NGINX Amplify


Leave a Reply