Simplify payments in UWP apps with the Payment Request API from Microsoft
The Windows 10 team wants to help you take advantage of new simplified payment options for Windows 10 UWP apps. A not-so-appealing part of the ecommerce shopping experience to this day is the checkout process. The average documented shopping cart abandonment rate is 68.81 percent, and 27 percent of U.S. online shoppers have abandoned an order in the past quarter due to a “too long /complicated checkout process [source].”
Over 90% of paid App Developer revenue has been coming from In-App Purhcases (IAP), now app developers can add a new business model and revenue stream by taking advantage of the new Payment Request API to sell physical goods and services or conduct other commerce not supported natively in the Windows and Xbox stores. This API provides an integrated for Universal Windows Platform (UWP) Apps to bypass the complicated process of requiring a user to input payment information and select shipping methods.
After a simple implementation, described below, the millions of customers who already have a payment option saved with Microsoft will be able to check out more seamlessly in your app. This gives customers a faster and more convenient way to pay because they do no need to enter their payment information every time they want to purchase a product in your app.

What the Payment Request API for UWP Apps Enables
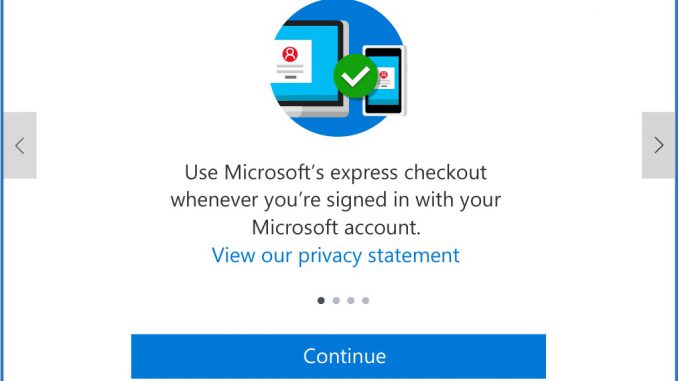
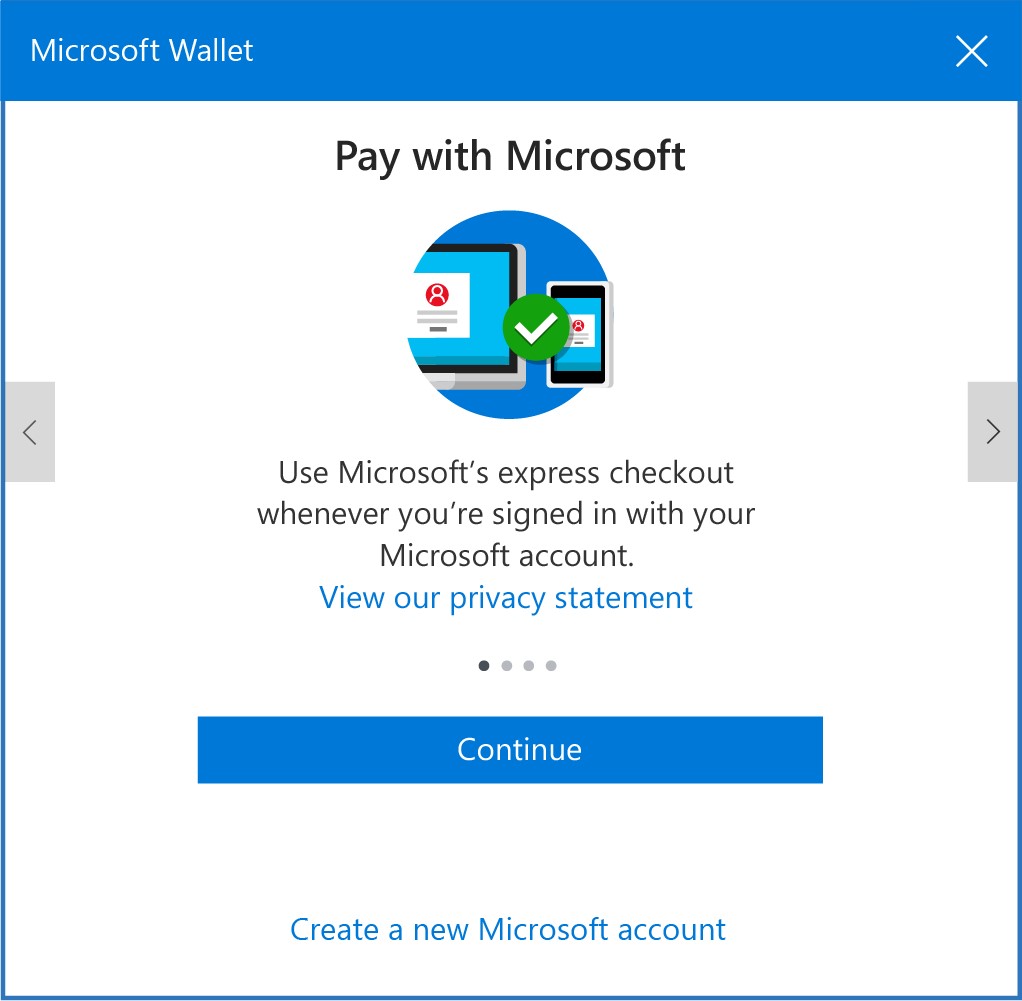
The Payment Request API for UWP apps, based on the W3C Payment Request API spec, gives app developers the ability to streamline the checkout process in their UWP Apps. It does so by allowing users to speed through the checkout process, by using payment options and shipping address, already saved with their Microsoft account. You can increase conversion and reduce your risk of data breaches because the payment information is tokenized. With the Windows 10 Creators Update, users can pay with their saved payment options freely throughout experiences in Windows including in UWP apps or on the web via the Microsoft Edge browser.
We are excited to announce the availability of the Payment Request API for UWP app developers today – starting with the OS Build and SDK version 15003.
With this release, we expand on the capabilities already announced for web developers, in the Microsoft Edge Team blog post, which walks you through how to call the Payment Request API from within the Microsoft Edge browser.

Figure 1. Process flow diagram of the Payment Request API
How to use the API
1. Start by creating a set of all the payment options that you accept. You can decide to create a request and resubmit the same one each time. Or create a new request on each button click.
// Enumerate all the payment methods our store accepts.
var data = new
            {
                supportedNetworks = new[] { "visa", "mastercard" },
                supportedTypes = new[] { "credit" },
                mode = "TEST"
            };

var acceptedPaymentMethodsAll = new[]
            {
                new PaymentMethodData(new[] { "https://pay.microsoft.com/microsoftpay" },
                JsonConvert.SerializeObject(data))
            };
2. Pull together the payment details. These details will be shown to the user in the payment app. Please note that the API will not add up the items or calculate the sales tax for you. It’s up to you to provide the required information correctly.
// Aggregate all the prepared payment details.
var details = new PaymentDetails()
  {
       DisplayItems = displayItems,
       Total = totalItem,
       ShippingOptions = new List<PaymentShippingOption>
       {
           new PaymentShippingOption("Standard (3-5 business days)", new PaymentCurrencyAmount("0.00",
               "USD")),
           new PaymentShippingOption("Express (2-3 business days)", new PaymentCurrencyAmount("4.99",
               "USD")),
           new PaymentShippingOption("Overnight (1 business day)", new PaymentCurrencyAmount("11.99",
               "USD")),
        },
        Modifiers = new[]
        {
            new PaymentDetailsModifier(new[] { "contoso/credit" }, totalItemForContosoCard,
                displayItemsForContosoCard)
         },
   };
3. You can put all the assembled payment details together in one payment request.
// Create a new payment request and associated internal state describing this proposed transaction.
    var state = new PaymentRequestState();
    var request = new PaymentRequest(details, acceptedPaymentMethods, merchantInfo, options);
Submitting the Payment Request (shows the UI
1. Call the SubmitPaymentRequestAsync method to submit your payment request. This will bring up the payment app showing the available payment options.
// Submit the payment request for mediation and (possibly) user review.
state.SubmissionRequestOperation = paymentMediator.SubmitPaymentRequestAsync(request, async (sender, args) =>
     {
       args.Acknowledge(await HandlePaymentRequestChangedAsync(request, args, state));
     });

Processing payment request updates
1. The total price to a user might change depending on the shipping address and preferred shipping option the user selects. The following code creates the available shipping options based on the shipping address provided by the user.
private static async Task<IReadOnlyList<PaymentShippingOption>> GetShippingOptionsForAddressAsync(PaymentAddress address)
{
   // Compose a list of available shipping methods for this address.
    var methods = (address.Country.Equals("USA"))
        ? ShippingMethodsDomestic
        : ShippingMethodsInternational;

    // Calculate the shipping cost for each available shipping method based on this address.
     return await Task.WhenAll(
         methods.Select(async (method) => new PaymentShippingOption(method, await
                        GetShippingCostAsync(method, address))));
}
Processing the payment response
Process the payment token returned in the payment response as part of the submissionResult.Response.PaymentToken object.
var tokenProcessingResult = PaymentRequestCompletionStatus.Failed;
    // TODO: Process payment token from submissionResult.Response.PaymentToken
    // If processing succeeded, set tokenProcessingResult to PaymentRequestCompletionStatus.Succeeded
Completing the Payment Request
Send the payment mediator the updated tokenProcessingResult. If the returned status is “Succeeded,” the payment app will indicate success and will then return focus back to your app. If “Failed” is returned, the payment app UI will indicate payment failure to the user.
// Notify payment app of processing result.
            submissionResult.Response.Complete(tokenProcessingResult);
// Payment application will now disappear from UI. Transaction complete.

Feature detect (check universal API contract version)
1. The minimum OS version that the Payment Request API will be supported on is the Windows 10 Anniversary Update. You can use the following code to check if the Payment Request API is supported on the user’s device/build. If the API is not supported, you can then direct users to use other means to complete the purchase in your app.
var isPaymentApiSupported = ApiInformation.IsTypePresent(Windows.ApplicationModel.Payments.PaymentMediator);
if (isPaymentApiSupported)
  {
        // Payment API is supported, continue with payment request creation.
  }
Availability and Documentation
The Payment Request API will be available for testing as part of the SDK included with Build 15003 on phone and desktop. Developer documentation for the API is available here on MSDN.
Onboarding Requirements
For UWP applications, we support tokenized payment method(s) via integration with payment service providers. The response from a payment request will contain a microsoftpay token inside of which will be a single use token from your payment service provider. Microsoft requires authorization from you to request payment service provider tokens on your behalf. Therefore, before you can get started, we need you to follow a few steps to register for a seller account and provide the necessary authorization. To get started, visit Microsoft Seller Center to register, accept the terms and provide us access to request tokens on your behalf. Once you have done this, copy the resulting Merchant ID from the dashboard into your application when constructing a payment request. Then, when your application submits a payment request, you will receive a payment token from your processor which you will need to submit for payment.
Geos and Localization
Initially, this payment API can only be used by US based businesses to process US-region transactions. The user experience will support over 100 languages. Support for payments outside of the US will be added later at which time we will post an update to the developer community.
To Sum Up
Digital payments are on the rise and our team at Windows wants to help you take advantage of this trend. We’ve created an API that you can harness to improve in-app checkout experiences and enable increased purchase activity.
Windows users can expect a polished and trusted checkout experience that removes the need to reach for their credit card every time they want to make a purchase. We are excited to make this announcement and cannot wait for you to try out the API and provide us with your feedback.
Source: Simplify payments in UWP apps with the Payment Request API from Microsoft


Leave a Reply